Open topic with navigation
Signing Instruments
Once you have entered all the required information for your Instrument, and the correct statements have been selected, you can sign it in Teraview.
Signing Credentials
Note: These signing credentials apply only to activities in the training environment.
When it comes time for you to electronically sign a document in the training system, you can use the following credentials in the Signing Credentials window:
- Password: This is the password you used to log in
- RSA Token: You can enter any six numbers in the RSA Token field
Note: The data and display shown in these scenarios may differ from the display in your training environment.
In this series of steps, you will:
- Validate the Instrument
- Address the outstanding requirements for signing
- Sign the Instrument
Before we go ahead with signing, let's have a look at the different locations in Teraview where you can sign one or more Instruments (the signing process is the same from any location, but multiple Instruments can only be signed from the Instrument List):
Sign an Instrument from the Signatories Branch
From the Signatories branch of any individual Instrument, you can select the Sign button. Once the Instrument is signed from any location, the signature will appear in this branch.
Sign an Instrument from any branch in the Instrument
From any branch in the Instrument, you can access the green arrow menu  in the top right corner of the screen and select Sign.
Sign one or more Instruments from the Instrument List
From the Instrument List, you can select one or more Instruments of the same type using the checkboxes, and select Sign from the green arrow menu  to the right of any one of your selected Instruments.
For this scenario, we will sign a one party Instrument from the Signatories branch.
 To sign an Instrument from Signatories branch
- From the Home/Dockets screen, select your Docket in the list.
- From the green arrow menu
 to the right of the Docket, select Open.
The Docket opens, displaying the Instrument List.
- Select the Instrument in the list.
- From the green arrow menu
 to the right of the Instrument, select Open.
- Select the
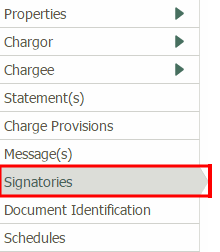
 Signatories branch.

Note: The data and display shown in these scenarios may differ from the display in your training environment.
- Select the Sign button
 .
.
The Signing window opens.
Since this Instrument is one-party, the Completeness signature is the only option, and is already selected. So is the On Behalf Of option.
- In the Authorization Statements section, select the required statement.
Your window should look something like this:
- Select the Validate button.
Any validation errors for the Instrument will appear in the red Signing Validation Errors window at the top of the screen.
- Select the blue link next to the error message in the list.
The relevant branch displays.
- Correct the error.
- Select the Save button
 .
.
- From the green arrow menu
 in the top right of the screen, select Sign.
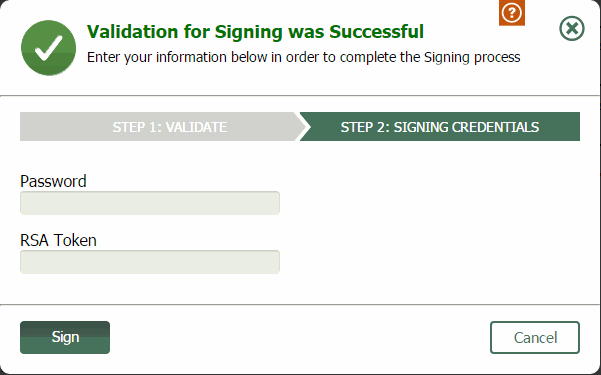
A green check mark will appear in the top of the window, and a message indicating that signing was successful.
- Enter your Password and RSA Tokencode.
- Select Sign.
A confirmation message with a green check mark will appear on the screen.
The signature displays in the Signatories branch.

 in the top right corner of the screen and select Sign.
  to the right of any one of your selected Instruments.
 ![]() To sign an Instrument from Signatories branch
To sign an Instrument from Signatories branch